
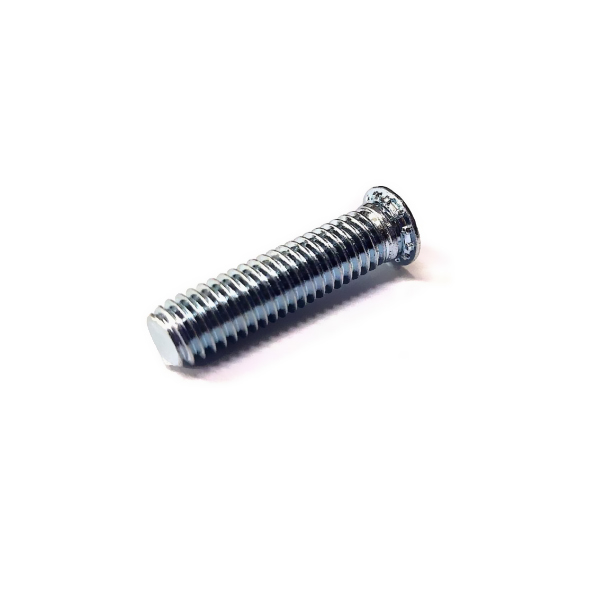
Proper installation is the key to ensuring that self-tapping threaded inserts deliver strong, reliable threads in soft materials. Many failures—such as pull-out, cracking, misalignment, thread stripping, or insert rotation—are caused by incorrect installation techniques rather than the insert itself.
1. Choose the Correct Pilot Hole Size
Every self-tapping insert requires a specific pilot hole diameter.
If the pilot hole is too small, the insert may split the material or deform during installation.
If it is too large, the insert may not grip properly and could rotate or pull out.
To avoid failure:
Always follow the insert manufacturer’s recommended pilot hole size.
Use precise drilling tools to ensure hole roundness and straightness.
Deburr the hole to avoid interference during insertion.
The pilot hole is the foundation for proper engagement—getting this step wrong often leads to premature failure.
2. Keep the Hole Aligned and Square
Misalignment between the pilot hole and the insert will cause uneven loading. This often results in:
Reduced pull-out resistance
Excessive side pressure
Thread stripping inside the insert
Bolt misalignment during assembly
Ensure the drilled hole is perfectly perpendicular to the surface unless the design intentionally requires an angled insert.
3. Insert the Fastener With Controlled, Steady Torque
Self-tapping inserts form their own mating threads as they are driven in. For this to happen correctly:
Use a torque-controlled installation tool when possible.
Maintain a slow, steady insertion speed.
Avoid forcing the insert if resistance spikes suddenly—this indicates incorrect hole size or contamination.
Over-torqueing is one of the most common causes of failure. It can strip the new threads the insert just formed, causing immediate loosening.

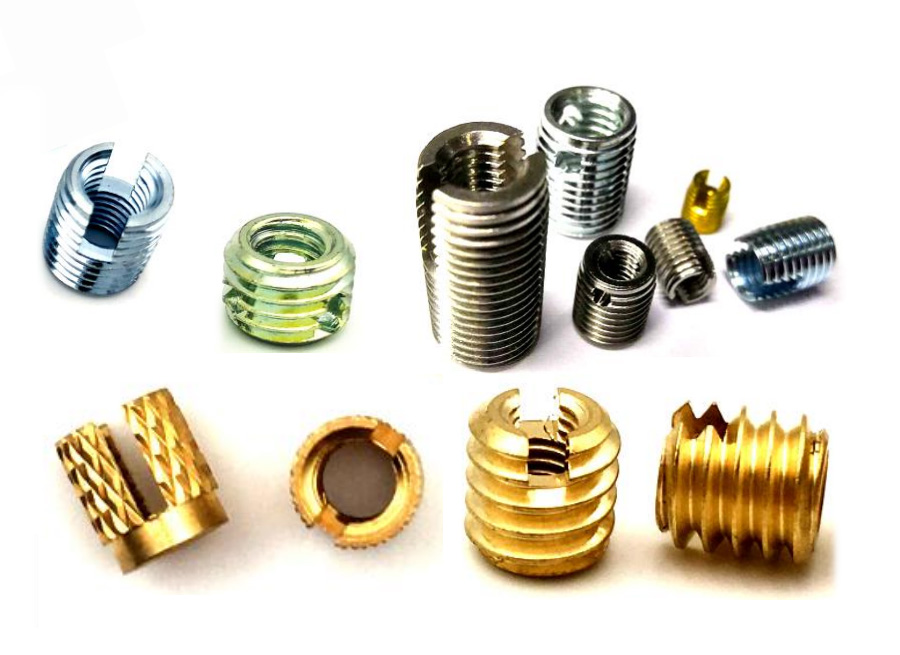
4. Use the Proper Installation Tool
Different inserts require different tools:
Hex-drive or Torx-drive inserts should be turned with matching drivers.
Slotted inserts require a flat-blade driver designed for insert installation.
Never use pliers or improvised tools—they apply uneven force and damage the insert’s exterior features.
Using the correct tool ensures even rotation, proper cutting action, and accurate seating depth.
5. Drive the Insert to the Correct Depth
Most inserts are designed to sit flush with the surface or just slightly below it. Installing too high or too deep can cause:
Uneven clamp loads
Part deformation
Poor load transfer
Incomplete thread engagement
Drive until the insert shoulder (if present) is fully seated, or until the top edge is level with the material surface.
6. Avoid Excessive Heat and Friction
During installation—especially in plastics—the cutting or forming action can generate heat. Too much heat can:
Melt or soften plastic, reducing thread quality
Cause stress whitening or cracks
Lead to long-term creep or deformation
To minimize heat:
Use the correct installation speed
Allow cooling periods during mass production
Use cutting-fluid sparingly for metals if allowed by the material
Heat control is critical for soft thermoplastics.
7. Verify Thread Engagement After Installation
Before the part enters production, check thread quality by inserting the intended screw or bolt. The screw should:
Engage smoothly
Reach full depth without excessive resistance
Not wobble or tilt
Not cause insert rotation
If any abnormal behavior occurs, inspect the pilot hole size or installation torque.
Common Installation Mistakes That Lead to Failure
Understanding the mistakes is just as important as knowing the steps.
• Using the wrong pilot hole size
Causes cracking, poor grip, or insert pull-out.
• Driving the insert too fast
Creates excess heat, leading to deformation or poor thread formation.
• Over-torqueing during installation
Strips threads or damages the surrounding material.
• Misalignment of the pilot hole
Leads to uneven loading and premature joint failure.
• Using worn or incorrect tools
Causes insert wobbling, surface damage, or skewed insertion.
• Installing into contaminated holes
Dust, chips, oil, or leftover plastic reduce holding strength.
• Not verifying screw compatibility
Improper screw length or diameter can overload the insert.
Key Takeaway
You can avoid most failures by focusing on four essentials:
Correct pilot hole size
Proper installation alignment
Controlled torque and correct tools
Accurate seating depth and clean working conditions
A self-tapping threaded insert is only as strong as its installation. When installed properly, it provides durable, high-load, repeatable threads that outperform direct tapping in soft materials.


 0755-23022676
 Customer Service
 sales03@koster.hk